We’ve Moved!

5 Nov

Hello!  I am so excited to announce that we have moved!!  The Deuel Family blog is now Spoonful of Imagination!  Please go check out our new site.  We have so many fun things in store and can’t wait to share them all with you!

For all my loyal subscribers,

I am so sorry but because of this change you will have to re-subscribe at the new site.  Look for the “subscribe” button on the right hand side of our new site!  I hope you will stay with me and continue following our journey.  Thank you so much for being a HUGE part in encouraging me to grow to a new site.  I have something for ONE of you today!  Come see if it is YOU!

Thanks so much, and I look forward to seeing you at Spoonful of Imagination!

~Erica

The Yo-Yo Pillow

2 Nov

This week’s Friday Spotlight item is an envelope close pillow case decorated with yo-yo flowers. **Psssst:  Announcement teaser at the end of this post!

Do you remember this pillow that was all over the web over a year ago and sold at Target?

I loved it, but never bought one.  I really wanted it for a bed that I had in my head.  My imaginary new quilt.  Now that my quilt is finished and my room has been coming together, it was finally time to start making those decorative pillows like all the ones I love at Target.

My pillow is obviously not the same, but I used the same “idea” and “contrast of colors” to create mine.  I am going to show you step by step  how I created this pillow.  Let me warn you there are tons of pictures, and it is really descriptive!  I hope it helps you, so you can make this pillow too!

Let’s start with how to make the yo-yos.  I made twelve yo-yos, but only used nine on this pillow.  Here is how you make that first one.

Get your fabric, scissors, pen, thread, needle and a bowl to start.

Trace the bowl onto the fabric.  The bowl allows your circle to be perfect.  Use what ever size bowl or cup you want.  Just remember they will “shrink” up through this process.  I used a salad bowl.

Once you have your circle on the fabric, cut it out.
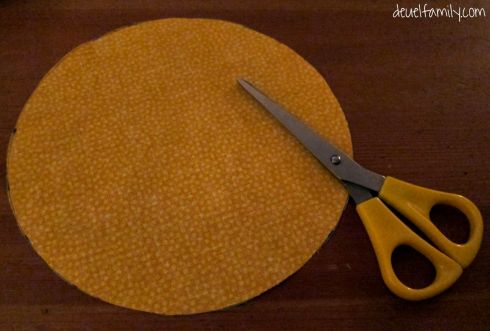
Thread a needle.  There is no need to tie a knot at the end of the thread.  You will start to weave the needle into the fabric about a centimeter from the fabric’s edge.  As you weave make sure you have at least three inches of thread sticking out from the start.  Tip:  Use the same color thread as your fabric.

Continue weaving all around the circle until you are back to where you started.  Do not stress about the distance of each stitch.  It wont matter!  Promise!

Once your weaving gets back to the start, grab both ends of the thread in one hand.

Use your other hand to squish the fabric down to make it tight.  (sorry I am only showing one hand in this picture.  I needed a hand to take the picture :).)
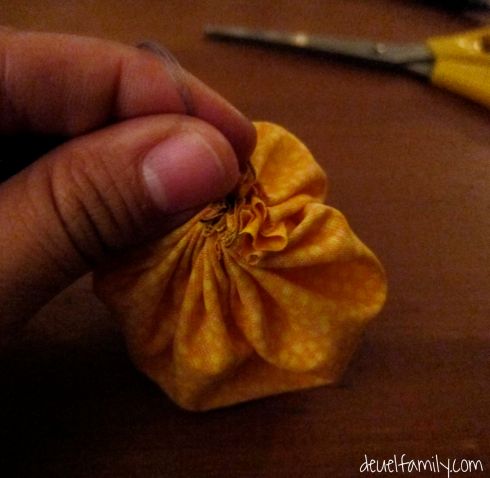
Tie the ends together to form a tight knot, and then pull out the fabric’s edges to make the flower flat.

It’s just that simple!  You have a Yo-Yo flower!  Now to only make eight more for the pillow case!  Use your yo yo for a pillow embellishment like this, or you can add a button in the middle and a clip to the back to make a hair bow!

Now for the second part of this pillow, the actual pillow!  I think the yo-yo step is harder.  No joke.  Once you figure out how to do the actual pillow case, it is so quick to make!
Here we go with these steps!

I lined my pillow case with a creme fabric to add strength and durability to the pillowcase.  Lay your outside fabric face down and your liner fabric on top.

I like to lay my pillow insert on top of the fabric to measure where I need to cut for the width of the pillow.  I don’t measure with a ruler.  I just leave enough seem allowance on either side of the pillow to sew.  It is about half an inch, but I just eye-ball it.  Pillows are so forgiving!

Before you fold your fabric to create the “envelope”, you want to hem the edge of the two fabrics.  By doing this, it will look clean and “finished”.  If your pillow is flipped around, you want that envelope opening to look “professional” and not the rough, frayed edge of the fabric.
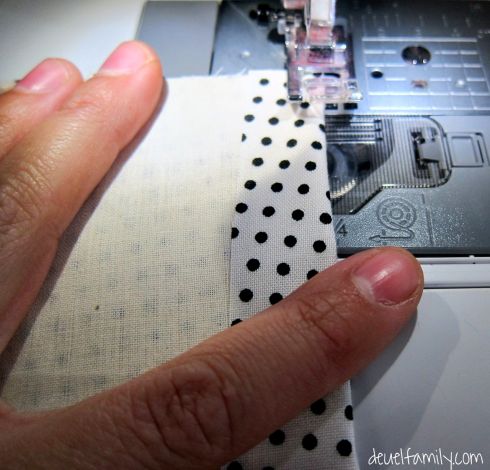
I eyeball about a half-inch seam and fold it as I sew down the imaginary line.

I go back and sew another line on the fold as well.  I like (as you can see behind my machine’s sewing foot) the look of two lines to edge the seam.  I am too lazy to change out the foot on my machine that would allow these two lines to happen at the same time.

Once you have sewn the edge, fold your fabric up the size of the pillow case.  I play with this step to get my “opening” on the back either in the middle or top of the case.  I like to change-up its placement.  I’m sorry I didn’t take more pictures of this step, but you seriously fold the top (seemed end) over.  (You should be looking at the liner).  It should meet about half way down your length of fabric.  You then fold the other end up to overlap the first end by at least three inches.  You don’t want the envelope to “open” and show your insert, so be sure to make it a good overlap.

Once you have a good envelope fold, pin the fabrics together.

Now, sew along the pinned “imaginary” lines.
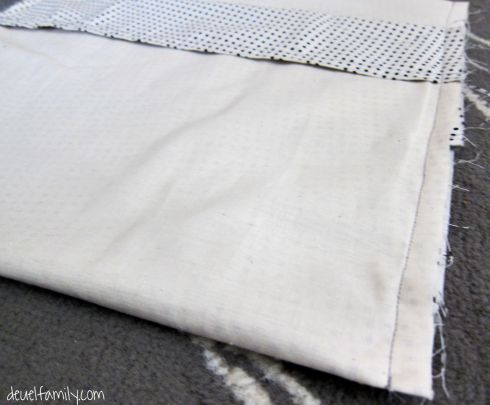
After you have sewn both lines, turn it right side out.  You have an envelope pillow case!

Congratulations!  Now, you just need to sew on your yo-yo flowers.  I laid my flowers out on the case to figure out their placements.

I then marked a small “x” on the pillow case in what seemed like the middle of the yo-yo flowers.

I simply sewed each yo-yo onto an “x”, and it was then complete!  Stuff your insert inside and enjoy it!
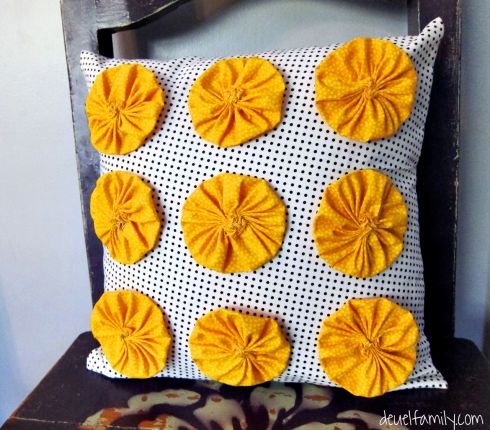
I loved the way it turned out!  I hope you feel like you can give this project a try!  If you have any questions, I would love to hear from you and see if I can help.

Thank you so much for reading this week’s Friday Project Spotlight!

I have some really exciting news that I can’t wait to share with all of you!  Well, it is exciting to me.  Please check back Monday for my great reveal!

Have a great weekend!

I linked this project up at Miss Information.

A week from TODAY!

30 Oct

One week from today is November 6, 2012.  It is my thirtieth birthday!  I can’t believe this day is almost here.  I remember thinking, when I was young, that thirty was so old.

{Of course I used a Photoshop Action on those two pictures, because I am way too young to be from the time of solely Polaroid shots.  :)}

It doesn’t feel old anymore.  It is crazy to still feel so young but look at the events of your life (married, drive a mini van, own a house, have two dogs, and three kids to fill that mini van) and realize that although I still feel young at heart, I am older.

In honor of this HUGE milestone in my life, I am proclaiming my own “teacher work day” next Tuesday.  My school will be closed, and my kids and I will do all my favorite things.  Which let’s be honest, they probably are driving to get  a sweet tea, browsing through Hobby Lobby, rummaging through a thrift store, and spending time together in our pajamas.  Oh.  I. am. old.

P.S.  My birthday may also be election day this year, so go out and vote.  The End.

Country Living Fair

28 Oct

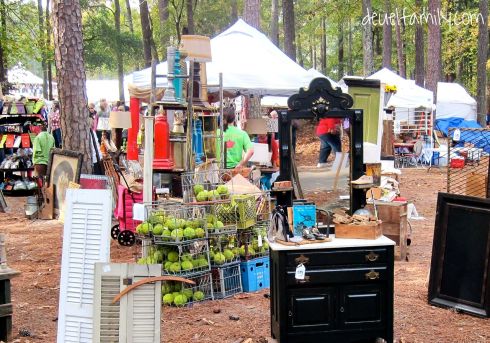
On Saturday, I was able to meet up with a group of DIY bloggers from the Atlanta area.  We met with some other members of Hometalk  and Ben Ashby, the editor in chief of Folk magazine, to attend the Country Living Fair at Stone Mountain Park.  It was a blast!  I loved meeting so many writers of blogs I have been following.

Thank you to Beth at Unskinny Boppy for this group shot!

My friend, Erin, and I had a blast talking with these other bloggers and walking all through the woods to see the amazing vendor booths.

I have been to a lot of art festivals, but I think this is my new favorite one!  I loved how the booths were throughout the woods, and they were not right on top of each other in a small 8×8 space.  They were able to spread out.  This left room for more mingling and better viewing, without feeling cramped and rushed (as a lot of crowed art shows feel).

Here are a few things that caught my attention:

I loved those sweet bird pillows and ottoman.  The balance of complimentary colors and prints just pop!  Color always draws my attention…

Erin and I decided my sense of home decor might be considered Bohemian.  It is kind of the “hippie” or “gypsy” at heart look.  There is LOTS of color and mixtures of different art, textures, and vintage with unusual objects in the Bohemian style.  I think that describes my house in a lot of ways.

I kept being wowed by the extravagant ways that the vendors displayed their art.  It was really impressive and an art in itself!

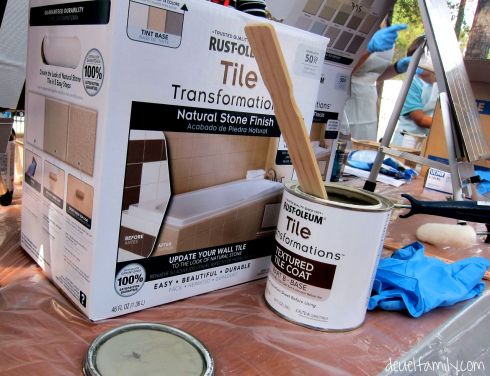
Our blogger group got a private demonstration from Rust-oleum on their new paint for tiles.

It was so fun learning about this new paint and getting to try it out!

It really looked great, and I am pretty sure we are going to try it in our bathroom on our tile half wall!  What a quick and cheaper way to cover up the 50’s style tile work in there!

Rust-oleum gave us each a pretty amazing swag bag!  I was so excited!  I can’t wait to use this weathered gray stain I received!  Thank you so much Rust-oleum!

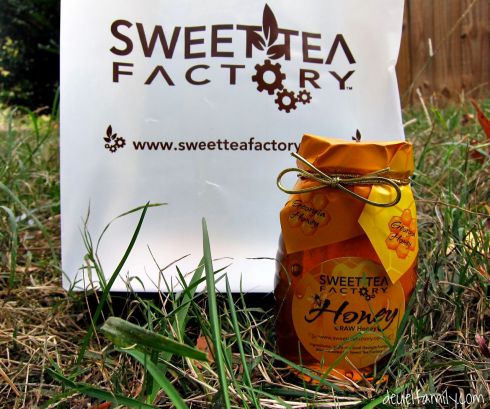
Other than my free stuff and lunch purchase, I don’t know how I only left with this sweet little purchase…

There is nothing like local Georgia honey!

I had such a great time at the Country Living Fair.  I think it will be a new annual tradition to attend.  I can’t wait to go again next year!

I hope you had a wonderful weekend!  Have you ever been to this great fair?

*I was not commissioned to write this post nor was I compensated by Rust-oleum or anyone associated with this event. 

Our Vacation Books

26 Oct

***First off, congratulations to Becca Stanley for winning my Embroidered Owl on last week’s giveaway!  Thank you to everyone who entered!  That was our largest entered giveaway to date!  I’m going to try to do them more often, since it seemed like a hit.  Please stick around and keep coming back!***

My project I would like to spotlight this week is my boys’ Summer vacation books.  We worked on them all week in school, and they are so completely proud of them!

I have wanted to incorporate making a summer book of our big road trip into our school days, but it kept getting pushed to the following week’s to do list.  Finally, I just decided we needed to do it, and this was the week!  I am so glad we did it!  We have all had a blast with this project!

We have talked about and learned so many valuable things this week through the process of making these books.  One of my main lessons was to try Super glue before many other strong glues needed to hold these thick babies together!  The boys have learned about the author and illustrator of books.  They know the names and the difference between the two roles.  They learned what a title page was and where it is located in a book.  We talked about key events and order and sequence.  We pulled out the map and showed the path we took on our 25 day road trip, while talking about states and distance.  We talked about the difference in opinions and facts.  They did a mock interview and are now doing “show and tell” for all who will sit through their reading of their books.

I love the pride that was earned with the completion of this big project.  Everyday Caleb wanted to “finish” his book, so it really taught patience to work a little at it everyday.

We picked out flag fabric for our cover since we drove across the United States for our vacation.  Caleb created both boys’ covers by glueing and wrapping the fabric around big pieces of cardboard.

We glued postcards that we had collected at our different stops on sheets of paper to insert as pages.

The boys sorted through a huge pile of pictures from our trip to pick out the ones they wanted to use in their book.  It was so fun to see and talk about the different things/events we did as the memories came back to us.  It is really quite funny to see the pictures they actually choose to use in their books.  They might not the the ones I would have chosen, but it is their books!

We worked on writing as they created title pages for their books.

Everyday, Caleb wrote a sentence for his book.

You know we love dictation.  He also dictated lots of stories or memories to me for pages in his book.

We printed out maps and drew the route we took to and from California on our maps.  We talked about distance and the United States, and had a blast talking about places we would like to travel next.  Caleb wants to travel across a different country on the other side of the world now.  Dream big my boy.  I love it!

Once we had finished creating all our different pages, we had to sort them into an order for the book.  We talked about events with similarities/differences as we placed all the “same state” pages in piles.

I get to do my job in my pajama pants. Awesome!

I had plans to sew the pages together with my sewing machine, but our books were too thick with all the pages and card stock.  We opted to punch holes and string thread though them to bind all the pages together.  I then glued the two outside pages to the cover.  It has taken several different types of glue to figure this step out.

The boys are so proud of their creations!!  They worked so hard writing, cutting, gluing, and learning this week.  I am just as proud of them as they are.

Today, we also talked about being a hard worker and finishing strong.  They were not wanting to complete the last steps, but they came around and finished strong and I adore their results!

Thank you so much for reading this week’s Project Spotlight.  Thank you again for all of you who entered my giveaway and might have started following me in a new way!  I really appreciate it!!

Tomorrow, I am attending the Country Living Fair at Stone Mountain with a group of other DIY Atlanta Bloggers, and I am so excited about it!  I will be sure to share it with you next week!

Do you have big plans this week?  Are you going to check out Mitcham Farm?  I hope whatever you do, you have a wonderful weekend!  Happy Friday!!

The Corn Maze

25 Oct

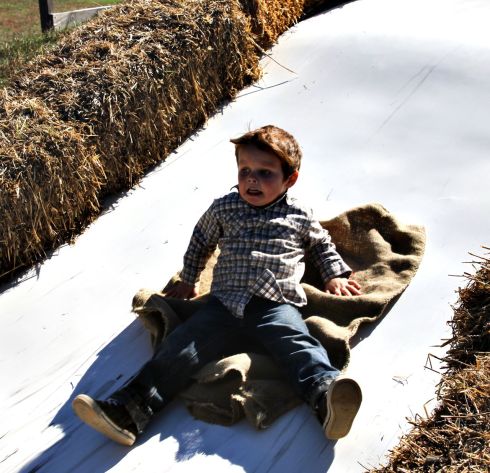
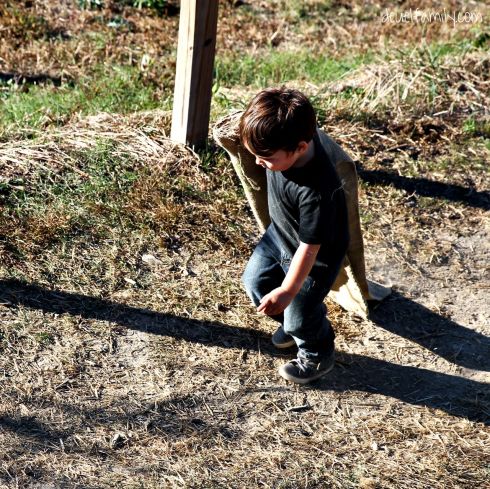
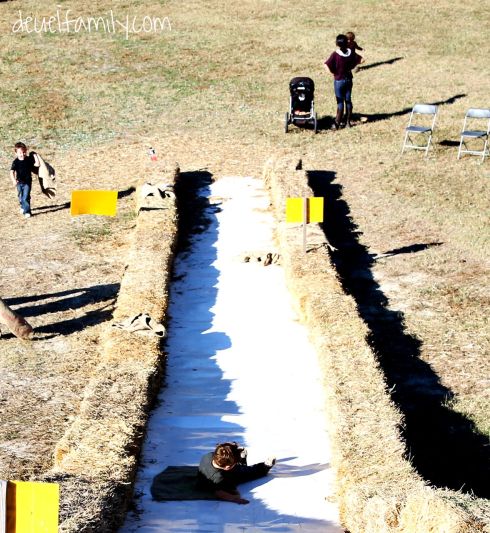
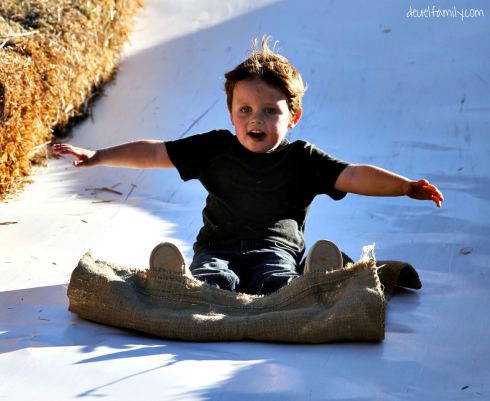
Yesterday, I showed you a glimpse of our corn maze adventure.  The boys loved going down the slide that was at this farm.

Today, I have part two of this “family date” post to share with you.  I don’t know what we are going to do with all the pictures from this outing, but I can’t stop looking at them!  Please enjoy this photo book below :).

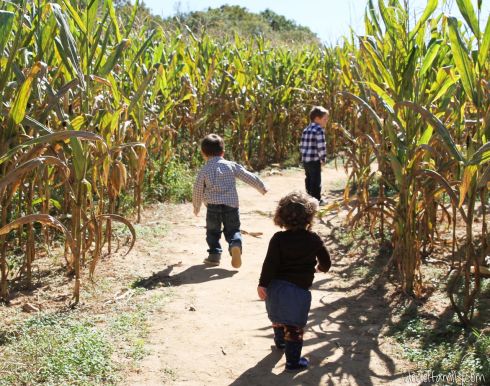
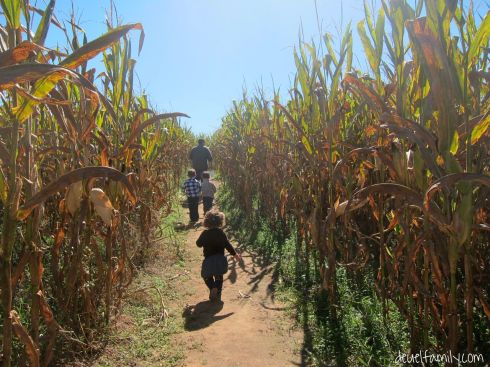
We all started really, really excitedly going through the corn maze.  It was an adventure.  This was a perfect environment for my little independent toddler as well.  She loves to walk, and we could just let her GO here, with all her walking going in the right direction.

I don’t normally make my kids wear “dressy, church” clothes as they like to refer to them.  Knowing we could get awesome pictures, I laid out special outfits for them.  Nothing against the usual wardrobe revolving around Superheroes.  I like that too.

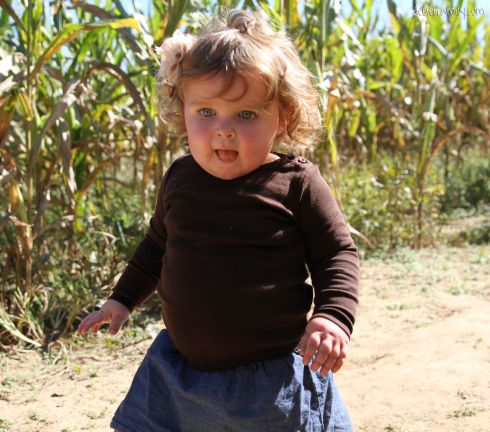
She melts me and totally has me around her little finger.  My best girl is my daughter.  What a gift!!!

As our time frame in the maze got “lengthened” by our wrong turns, the boys got hot and started shedding some layers.  It became like an episode of Survivor as we got hot and ran out of water.

We call this J’s “million dollar smile”.  When he smiles with those big blue eyes, you can’t help but smile back!

This son of mine is hilarious and a complete blast.  He’s got a sense of humor that could land him a stand up comedy job (we think) anytime he wanted one! 🙂

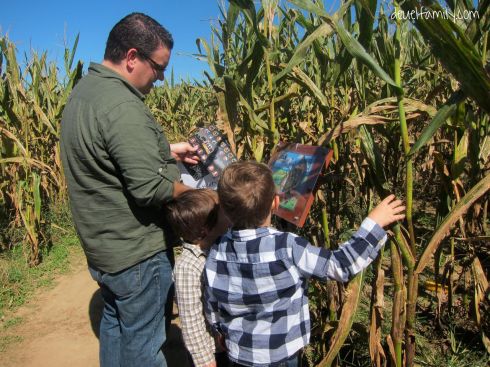
There was a little game throughout the maze about a mystery to solve.  Every sign gave you some clues, and if we made it to the end, I’m sure we would have figured it out.

They are best friends!  It is a completely beautiful thing as a mom to see.

After a few “self-made paths,” we finally emerged from the maze.  There is nothing wrong with the entrance also acting as the exit, in our case.

We got on the wagon ride, and took it around the property to their little farm.

On the farm there were live animals that you could pet and feed.

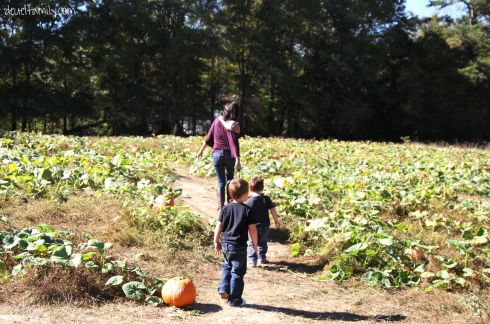
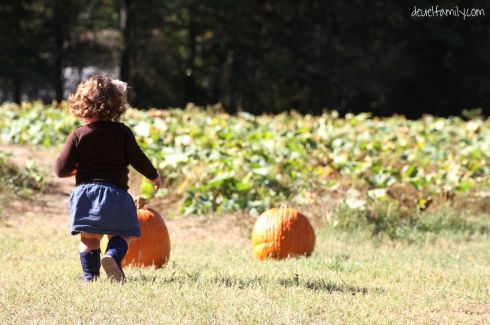
There was also a pumpkin patch!  You could pick pumpkins right off the vine to buy.

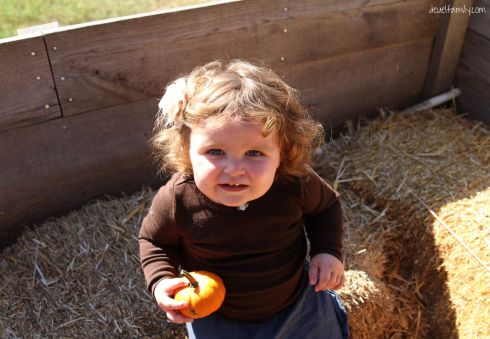
As part of your entry fee to this corn maze adventure place, you got to pick a free small pumpkin to take home.  Reagan was thrilled!

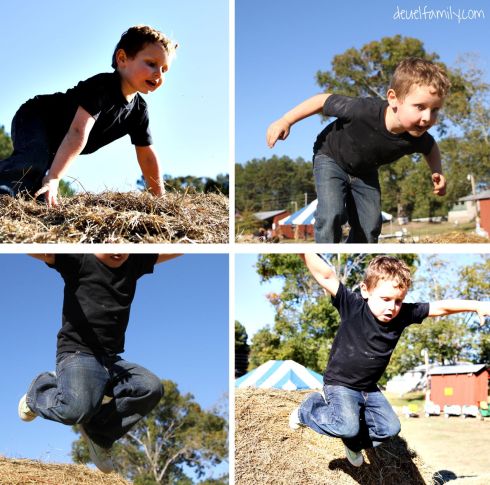
After the farm and wagon ride, we went back to the entrance where the big slide was and enjoyed some of their other activities.  One of which were these stacks of hay to jump on and from.

It was a boy’s paradise!

Reagan was obsessed with this “cow train” and might have ridden it a couple of times in a row.  She even got her own ride when other children choose to get off and do other activities.  She was obsessed!

There was a big corn silo that you could climb in and play with all the dried corn kernels.

Boys will be boys and find a good fight at all times :).

The boys got a kick out of shooting corn stalks at wood cows as well.

As you can see, we are a fan of this place!  We had so much fun, and we stayed the whole four hours it was open on Sunday!  Now do you want to know where it is!?!

It is at Mitcham Farm which is located just 30 miles east of downtown Atlanta in Oxford.  If you go to this link you will find it at on Half off Depot.  This coupon is for $5.00 admittance for everything I have talked about!  That is a great deal for a corn maze, hay ride, farm experience, free personal pumpkin, cow ride, slide, corn shooter, and corn barrel!  Reagan and J were both free too, so it only cost us $15.  We were thrilled!

If you go and try this place out, I’d love to hear about your experience!  Remember, pay attention to your map in the maze.  You could get lost.  It happens.

I hope you are having a great week!  It is almost the weekend!   If you haven’t entered my giveaway yet, there is still a small window!  You have till midnight tonight!

**Neither Half Off Depot nor Mitcham Farm has compensated me in any way for writing this post. Neither one even knows I exist.  I paid for my coupon like everyone else.  We just had a great time, and I wanted to share it with you.

The Big Slide

24 Oct

In my last post, I told you we had a great “family date” over the weekend.  It really was a blast.  As I have sat down to sift through and edit the over 600 pictures we took, I realized it was impossible to sum up this outing in one post.

Yes, that is a heck of a lot of pictures!  They are all beautiful too, so it is a big task to not post you a picture book today.  I am going to try to get all my info to you in two posts.

We went to a corn maze about an hour away from our home in Roswell.  The first 45 minutes of the corn maze was a complete blast.  Once we realized we were really lost, things got into survival mode.  More of that later.

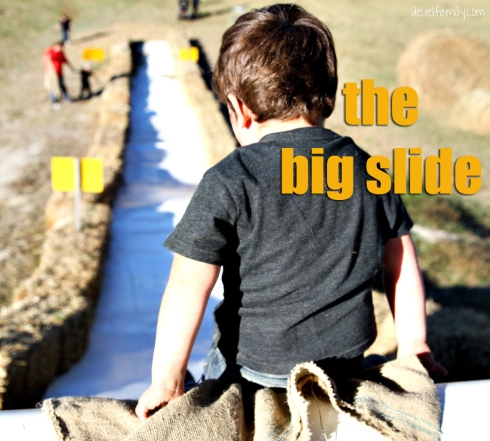
Some of the best parts of this corn maze were all the other things they had to do!  There was a bounce house, a little cow train, a corn shooter, a corn kernal hut, a playground, manual four wheelers, and even more!  The activity we liked the best was the huge slide.

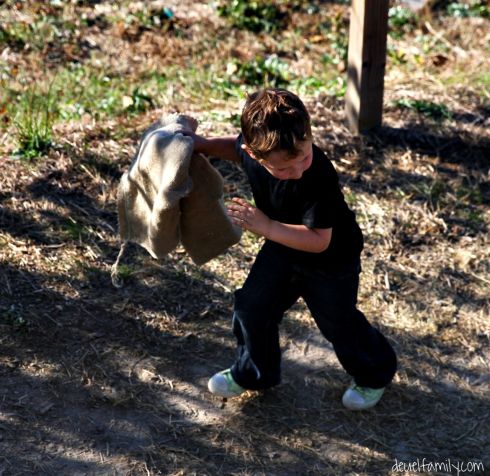
The slide was a really long and wide plastic slide that we all loved.  You went fast, yet it was the perfect amount of thrill with out being scary.

Well, to Reagan it might have been a little scary.  She opted to not go down again.  No matter how hard J tried to coax her to go down with him, she wouldn’t have it.  🙂

Ours boys ran up this hill countless times to be able to go down this slide.  This place was only open for four hours on a Sunday, and I think we might have spent a good two of them right here.

So, have you been to this place?  Any guesses at what it is called??  I have a clue for you.  It was a recent Half Off Depot!

I’ll be back tomorrow with more gorgeous pictures and the information about this wonderful place, so you too can go check it out!

In the mean time, there are only two days left to enter my awesome giveaway for this Embroidered Owl.

The winner of this owl will be announced on Friday.  Make sure you enter for a chance to get him!

**Neither Half Off Depot nor this fun place has compensated me in any way for writing this post. Neither one even knows I exist.  I paid for my coupon like everyone else.  We just had a great time, and I wanted to share it with you.

Five Fall Table Decorations Kids Can Make!

22 Oct

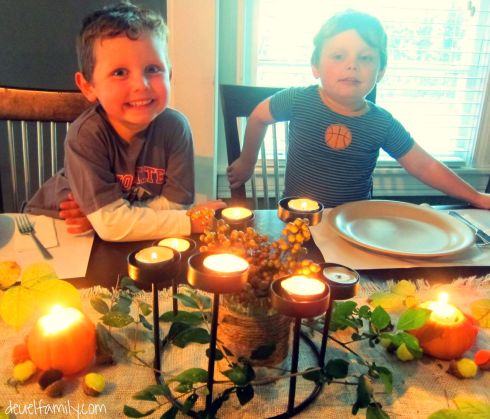
Tonight, we had a fall table decorated totally by my kids.  They loved putting this display together.  All day they excitedly talked about how we were going to eat dinner “by candlelight”.

There are five decorations on this table, and they are so quick and easy.  I promise!  I will walk you through each one.

1.  Walk through your backyard and pick some berries or branches to put in a vase for the centerpiece.  The natural outdoor elements will make it feel rustic and fall.  We put our berries in an old aluminum soup can that I had cleaned out and wrapped twine around.

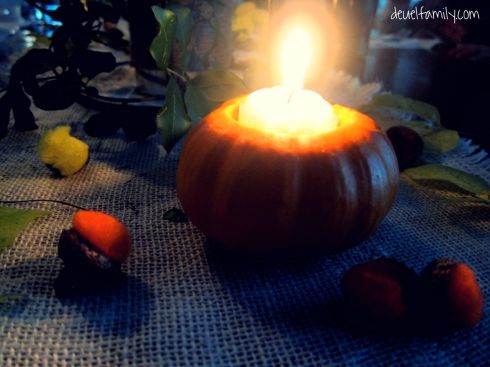
2.  Have your child use a small pumpkin carving knife (that comes in a kit) to carve out the center of a small pumpkin.  My boys (who are 5 and 3) could do this step pretty much on their own.  I assisted to make sure no fingers were getting carved off and to help clean out the middle of the pumpkin with a spoon.  We inserted a votive candle into the middle of the pumpkin.  It was the perfect fit!

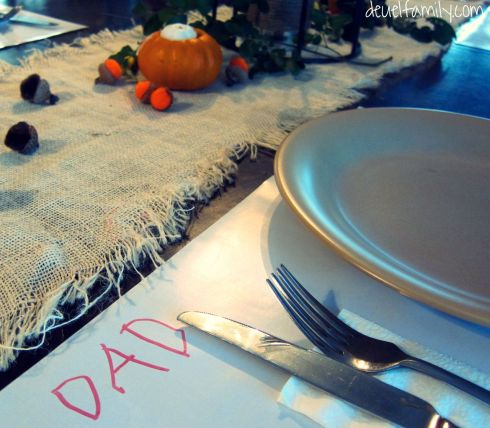
3.  Gather some acorn tops.  My five-year-old merely squirted some Elmer’s glue into each acorn top and stuck a colorful (fall colors) pom-pom on the glue.  It was so quick and easy.  He loved that looked like acorns, but they were also different and fun!  It was such a cheap thrill!

4.  Gather some pretty leaves of all different colors and lay in the center of the table.  My boys came back with fresh green branches.  🙂

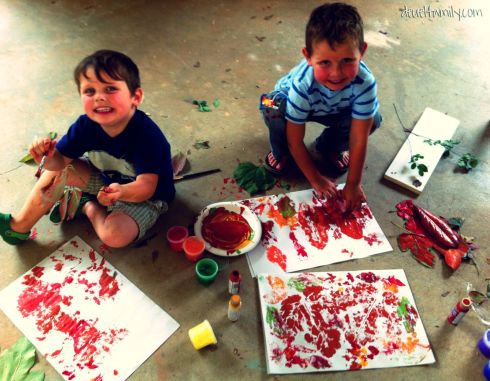
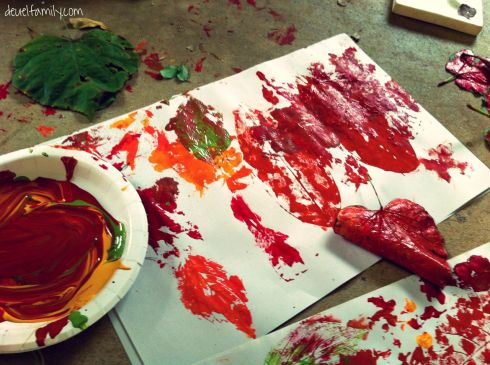
5.  Make some place mats.  We made these  place mats with some acrylic paint, paper, and leaves.  The boys brushed paint onto the back of the leaves and used them as stamps to decorate their paper.  They did not want to use these tonight for our dinner place mats for fear they may be ruined, so we opted for some quick name place mats…

The boys were so excited to eat dinner that I didn’t even have to call them when dinner was ready.  They were already sitting in their chairs waiting.

It is so funny how something that didn’t take much time or really any money can make the kids feel so special.  Anything out of the “normal” is a big deal, and they loved our special fall decorated dinner table.

I hope you are all having a great week!  We had the best “family date” day on Sunday that I can’t wait to share with you all!

If you are local in Georgia and need a fun outing for this weekend, be sure to check back later this week!  I will give you all the information on what we did, and it was not expensive!

**This post is linked up at Miss Information.

Embroidered Owl

19 Oct

***This giveaway is now closed.  Please keep checking my blog for more awesome giveaways to come!**

Last week, I had a sweet customer on etsy ask me if I would make her some embroidered owls.  I had one listed in my store, and she wanted two more to hang all three in her baby’s nursery.

I happily said YES!  I love making these and haven’t created one in what feels like forever.  I had the pink hoop owl listed in my store and the gray one was saved in my inventory box (left over from a past art show).  I only had to create one owl, but while I was prepping this one, I cut pieces for two owls.

Hint…hint…there could be something in this deal for you!!

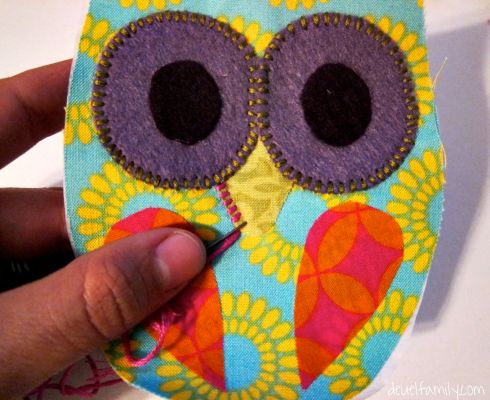
I came up with this embroidered hoop owl on burlap for her third hoop.  It is my favorite one ever!  I love all the color combinations, and the added texture with the burlap is perfect!

You might have got a glimpse of this project if we are friends on Facebook.

Those rough materials started out as scraps/leftovers and became something beautiful.  I love that.

I have fused the fabrics together and then hand stitched (with embroidery thread) around them to add more detail and attention, so it wears well.

I have started using my sewing machine to attach the owl to the background fabric because that saves so much time from hand stitching it on.  I can’t stop hand stitching the parts of the owl though.  I love the thicker thread that creates a more 3-dimensional look.  I think the extra time here is worth it, although sewing it with the machine would save lots of time.  

Here is the good news for you!!  The second owl I cut out-I am giving away to one of you!!

They are almost identical except the eye colors are switched on the two owls.  The one I am giving away has the darker circles on the outside.  It is not quite complete, since I was up to 12:30am this morning finishing this owl for my etsy order (that needed to go out today).

Tonight, I will probably sit on my couch with my husband, a drink, and a good movie.  I will finish stitching this owl then.

I find the hand sewing so therapeutic and fun!?

Would you like to win this owl?  There are four possible ways to enter this giveaway.

1.  Leave me a comment here on this blog

2.  Follow me on twitter (if you already do-tell me your name and that counts as an additional entry)

3.  Follow me (ericadeuel) on Instagram (if you already do-tell me your name and that counts as an additional entry)

4.  Pin the below image of this hoop onto one of your Pinterest boards.

Tell me in the comments which ways you are entering.  I hope you do all four!   On October 26, 2012 I will announce the winner here on my blog in that day’s Friday Project Spotlight post.  Entries can be entered until the clock turns Friday!

Imagine this owl embroidered and “beautified”.  He can be yours!!  Please enter and share it with your friends!

Thank you so much for reading this week’s Friday Project Spotlight post.  I hope you all are enjoying this gorgeous fall weather and have a great weekend!

Savannah, Georgia

18 Oct

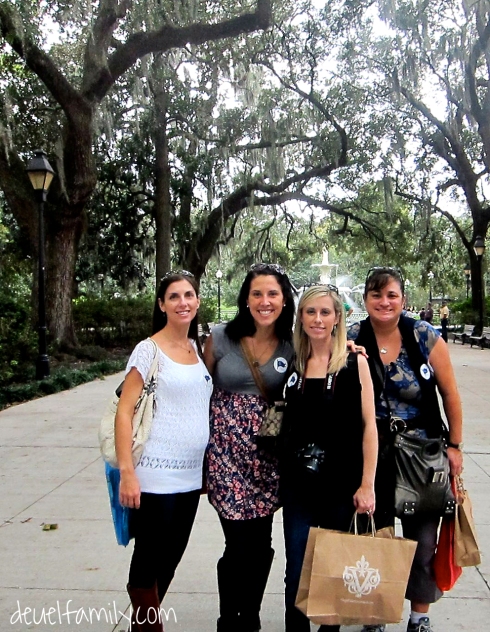
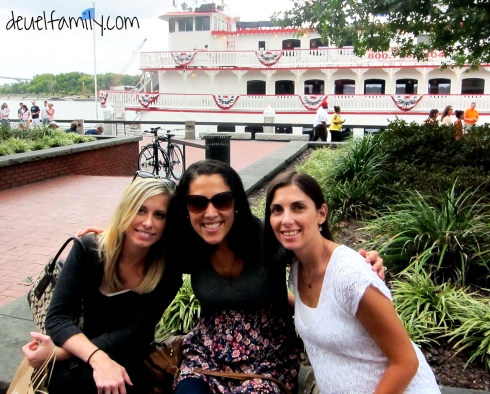
Last weekend I got to get away with three friends and spend the weekend in Savannah, Georgia.  It was a complete blast!  We went sightseeing, shopping, and did lots of eating.  It was the perfect girl’s getaway!

We ate lunch at a Mellow Mushroom right outside Savannah for lunch on our first day.  My boys have flipped over two of our lunch dates that were also eating there.  All four of us are moms of boys and took lots of pictures of the restaurant’s decor.  🙂

While sightseeing, we lived by the “block system” and the free maps located around Savannah.  I wasn’t very good with them, but I was very thankful to be with friends who were more proactive with figuring out the way to go.  My tendency is to think “let’s start walking, and we will find it”, which is not ever successful with my mind’s GPS.

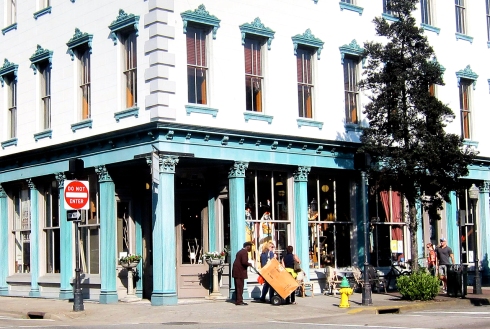
They got us to this very cute store, The Paris Market.  Inside there were some real eye candy displays.

I absolutely love those glass lights.  I have no idea where I would put them, but I dream of having some somewhere someday!

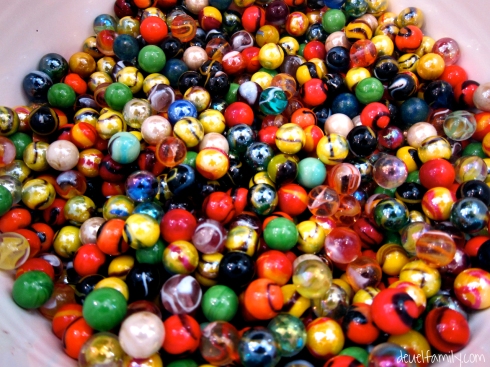
I brought the boys home a bag of those beautiful marbles each.  They have been carrying them around like crazy but have had moments like in Hook where they are so upset they have “lost their marbles”.

I left that gorgeous store with those string balls on my to-do list.  I HAVE to make a bucket of them.  They are so colorful and fun.

This gorgeous drift wood elephant stood inside one store.  I have a thing for elephants and this one is perfection!

As we strolled from one store to the next and ate in lots of restaurants, we saw a common thing were these shelled chandeliers.  They really grew on me, and I kind of want to try to make one of them too!  We fell in love with a lot of the cute stores in Savannah.  There was one other store we just loved like The Paris Market, and I can’t remember the name.

We did lots of walking!  We walked all over on our own, and we also did two walking tours while we were there.  We did a ghost tour one night, and a cinema tour one afternoon.  They were both highlights of our trip!  Good thing they had one of my favorite stores in this town…

There were some beautiful candy stores along the river.  They provided lots of good treats to enjoy while walking around.

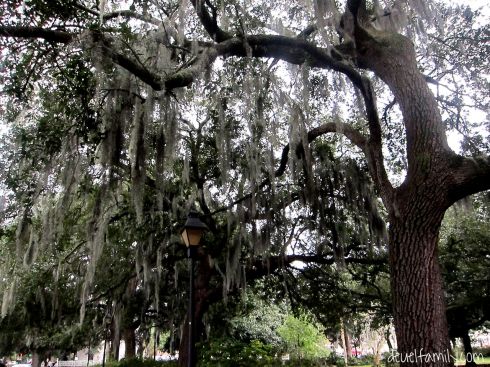
The squares around town are filled with Spanish moss trees, and I couldn’t get enough of them!

I had never been to Savannah and the beauty with the trees and architecture/buildings was so fun to take in.  The tours really helped us learn more about the city as well.  The Cinema tour was fascinating to see the parts of town which have been in movies.  We saw the square and restaurant that were used in Forest Gump.

I had never seen Midnight in the Garden of Good and Evil.  If you too have not seen it, it is a true story that took place in Savannah and then was also filmed there.  It was fascinating to see clips of the movie while we were looking at the real building.  The night after our tour we watched the movie.

This little history part of our trip was fascinating to all four of us, and we are all now reading the book that was written based on the movie’s plot.

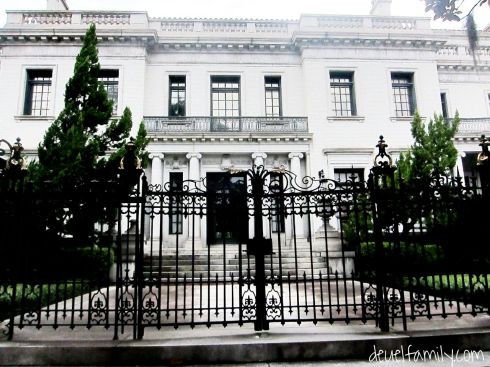
I just adore all the features of these old houses.  I want to live in an old house with some of these fabulous features!  I love the great big front doors, the porches, the metal work, and definitely all the huge windows!

This is the main house in the Midnight of the Garden of Good and Evil.  So much history right here!

I love the color used on this house front.  So beautiful!

We had a lot of fun talking, laughing, and enjoying long meals with out the worry of a child losing it.  It was good to come home to my family though too!  It’s amazing how just a little space can be so rejuvenating and strengthening to go home and keep pouring into those cute, yet needy parts of your heart.

If you haven’t been to Savannah, GA, I highly recommend it!  Some of my favorite places were The Paris Market, Rocks on the Roof of the Bohemian Hotel, Huey’s, and The Moon River Brewing Company.  Oh, and you have to do a tour!!  For more gorgeous pictures from this trip please visit my friend Erin’s blog!

I hope you are all having a good week!  Check in tomorrow to see what item is in my Friday Project Spotlight!  It is something I haven’t made in a while, but I love them!